 如何使用argocd进行持续交付(CD)
# 部署
# https://www.modb.pro/db/216294
# 创建命名空间
kubectl create namespace argocd
# 部署 argo cd
wget https://raw.githubusercontent.com/argoproj/argo-cd/stable/manifests/install.yaml
kubectl apply -n argocd -f install.yaml
1
2
3
4
5
6
2
3
4
5
6
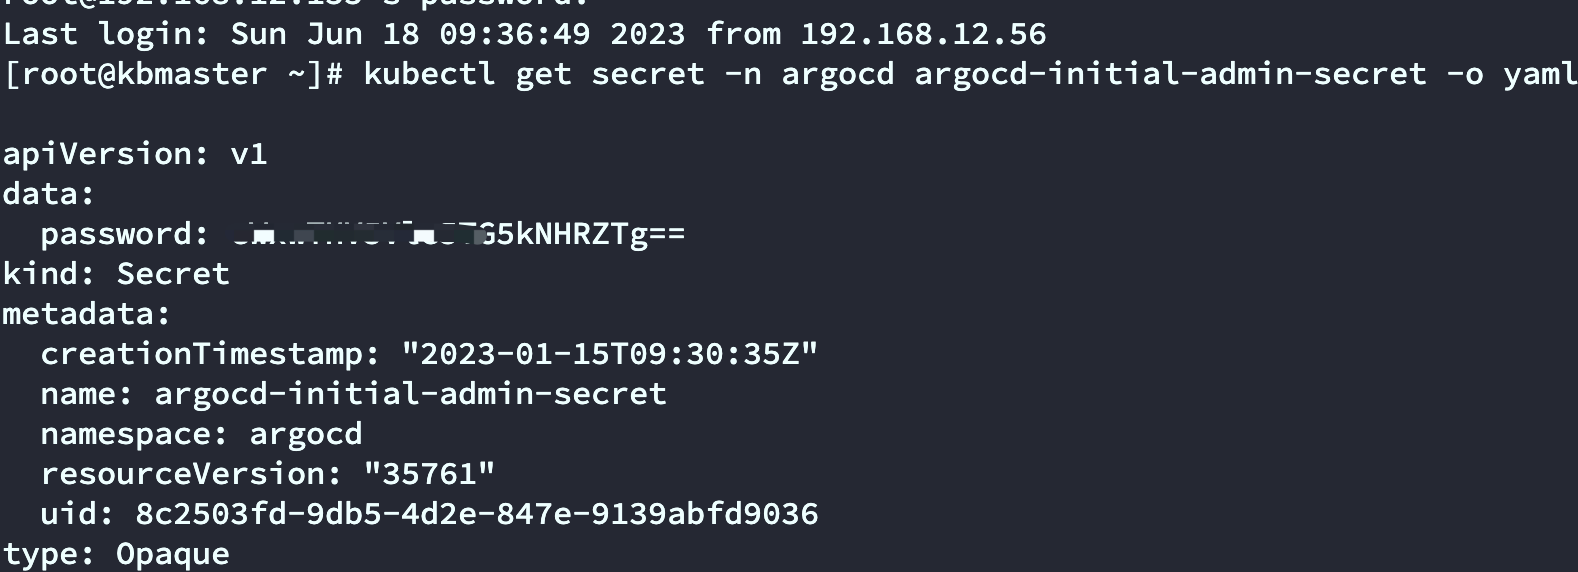
# 查看密码
kubectl get secret -n argocd argocd-initial-admin-secret -o yaml
echo xxxxxxxxxxQ3Jaag== | base64 -d
1
2
2
# 操作
# 注意下面的操作是必须的
argocd repo add git@github.com:PanGuData/ProxyHub.git --ssh-private-key-path ~/.ssh/id_rsa

argocd login ip:port
argocd repo add git@github.com:PanGuData/ProxyHub.git --ssh-private-key-path ~/.ssh/id_rsa
argocd app create railway-proxy --repo git@github.com:PanGuData/ProxyHub.git --path deploy/railway --revision HEAD --dest-server https://kubernetes.default.svc --dest-namespace proxy --project crawler --upsert --grpc-web
argocd app sync railway-proxy --timeout 60 --grpc-web
argocd app wait railway-proxy --timeout 60 --grpc-web

argocd app create http-gateway --repo git@github.com:PanGuData/ProxyHub.git --path deploy/gateway --revision HEAD --dest-server https://kubernetes.default.svc --dest-namespace proxy --project crawler --upsert --grpc-web
argocd app sync http-gateway --timeout 60 --grpc-web
argocd app wait http-gateway --timeout 60 --grpc-web

argocd app create dial-proxy --repo git@github.com:PanGuData/ProxyHub.git --path deploy/dail --revision HEAD --dest-server https://kubernetes.default.svc --dest-namespace proxy --project crawler --upsert --grpc-web
argocd app sync dial-proxy --timeout 60 --grpc-web
argocd app wait dial-proxy --timeout 60 --grpc-web
1
2
3
4
5
6
7
8
9
10
11
12
13
14
15
16
2
3
4
5
6
7
8
9
10
11
12
13
14
15
16
# k8s配置
# 下面的这一步也是必须的  k8s 仓库权限是针对namespace的 不是全局的 应注意
kubectl create secret docker-registry codeup-registry --docker-server=registry.cn-shanghai.aliyuncs.com --docker-username=sdgaozhe@qq.com --docker-password=xxxx --docker-email=sdgaozhe@qq.com -n proxy
kubectl config get-contexts
kubectl create ns proxy

# 目录下部署:https://blog.csdn.net/xixihahalelehehe/article/details/107925618
kustomize build proxy |\
kubectl apply -f - -n proxy

kustomize build pigway |\
kubectl apply -f - -n proxy
1
2
3
4
5
6
7
8
9
10
11
2
3
4
5
6
7
8
9
10
11
# 客户端
brew install argocd
brew cleanup argocd
# 本地登录
echo y | argocd login ip:30989 --password 'xxxxx' --username admin
1
2
3
4
2
3
4
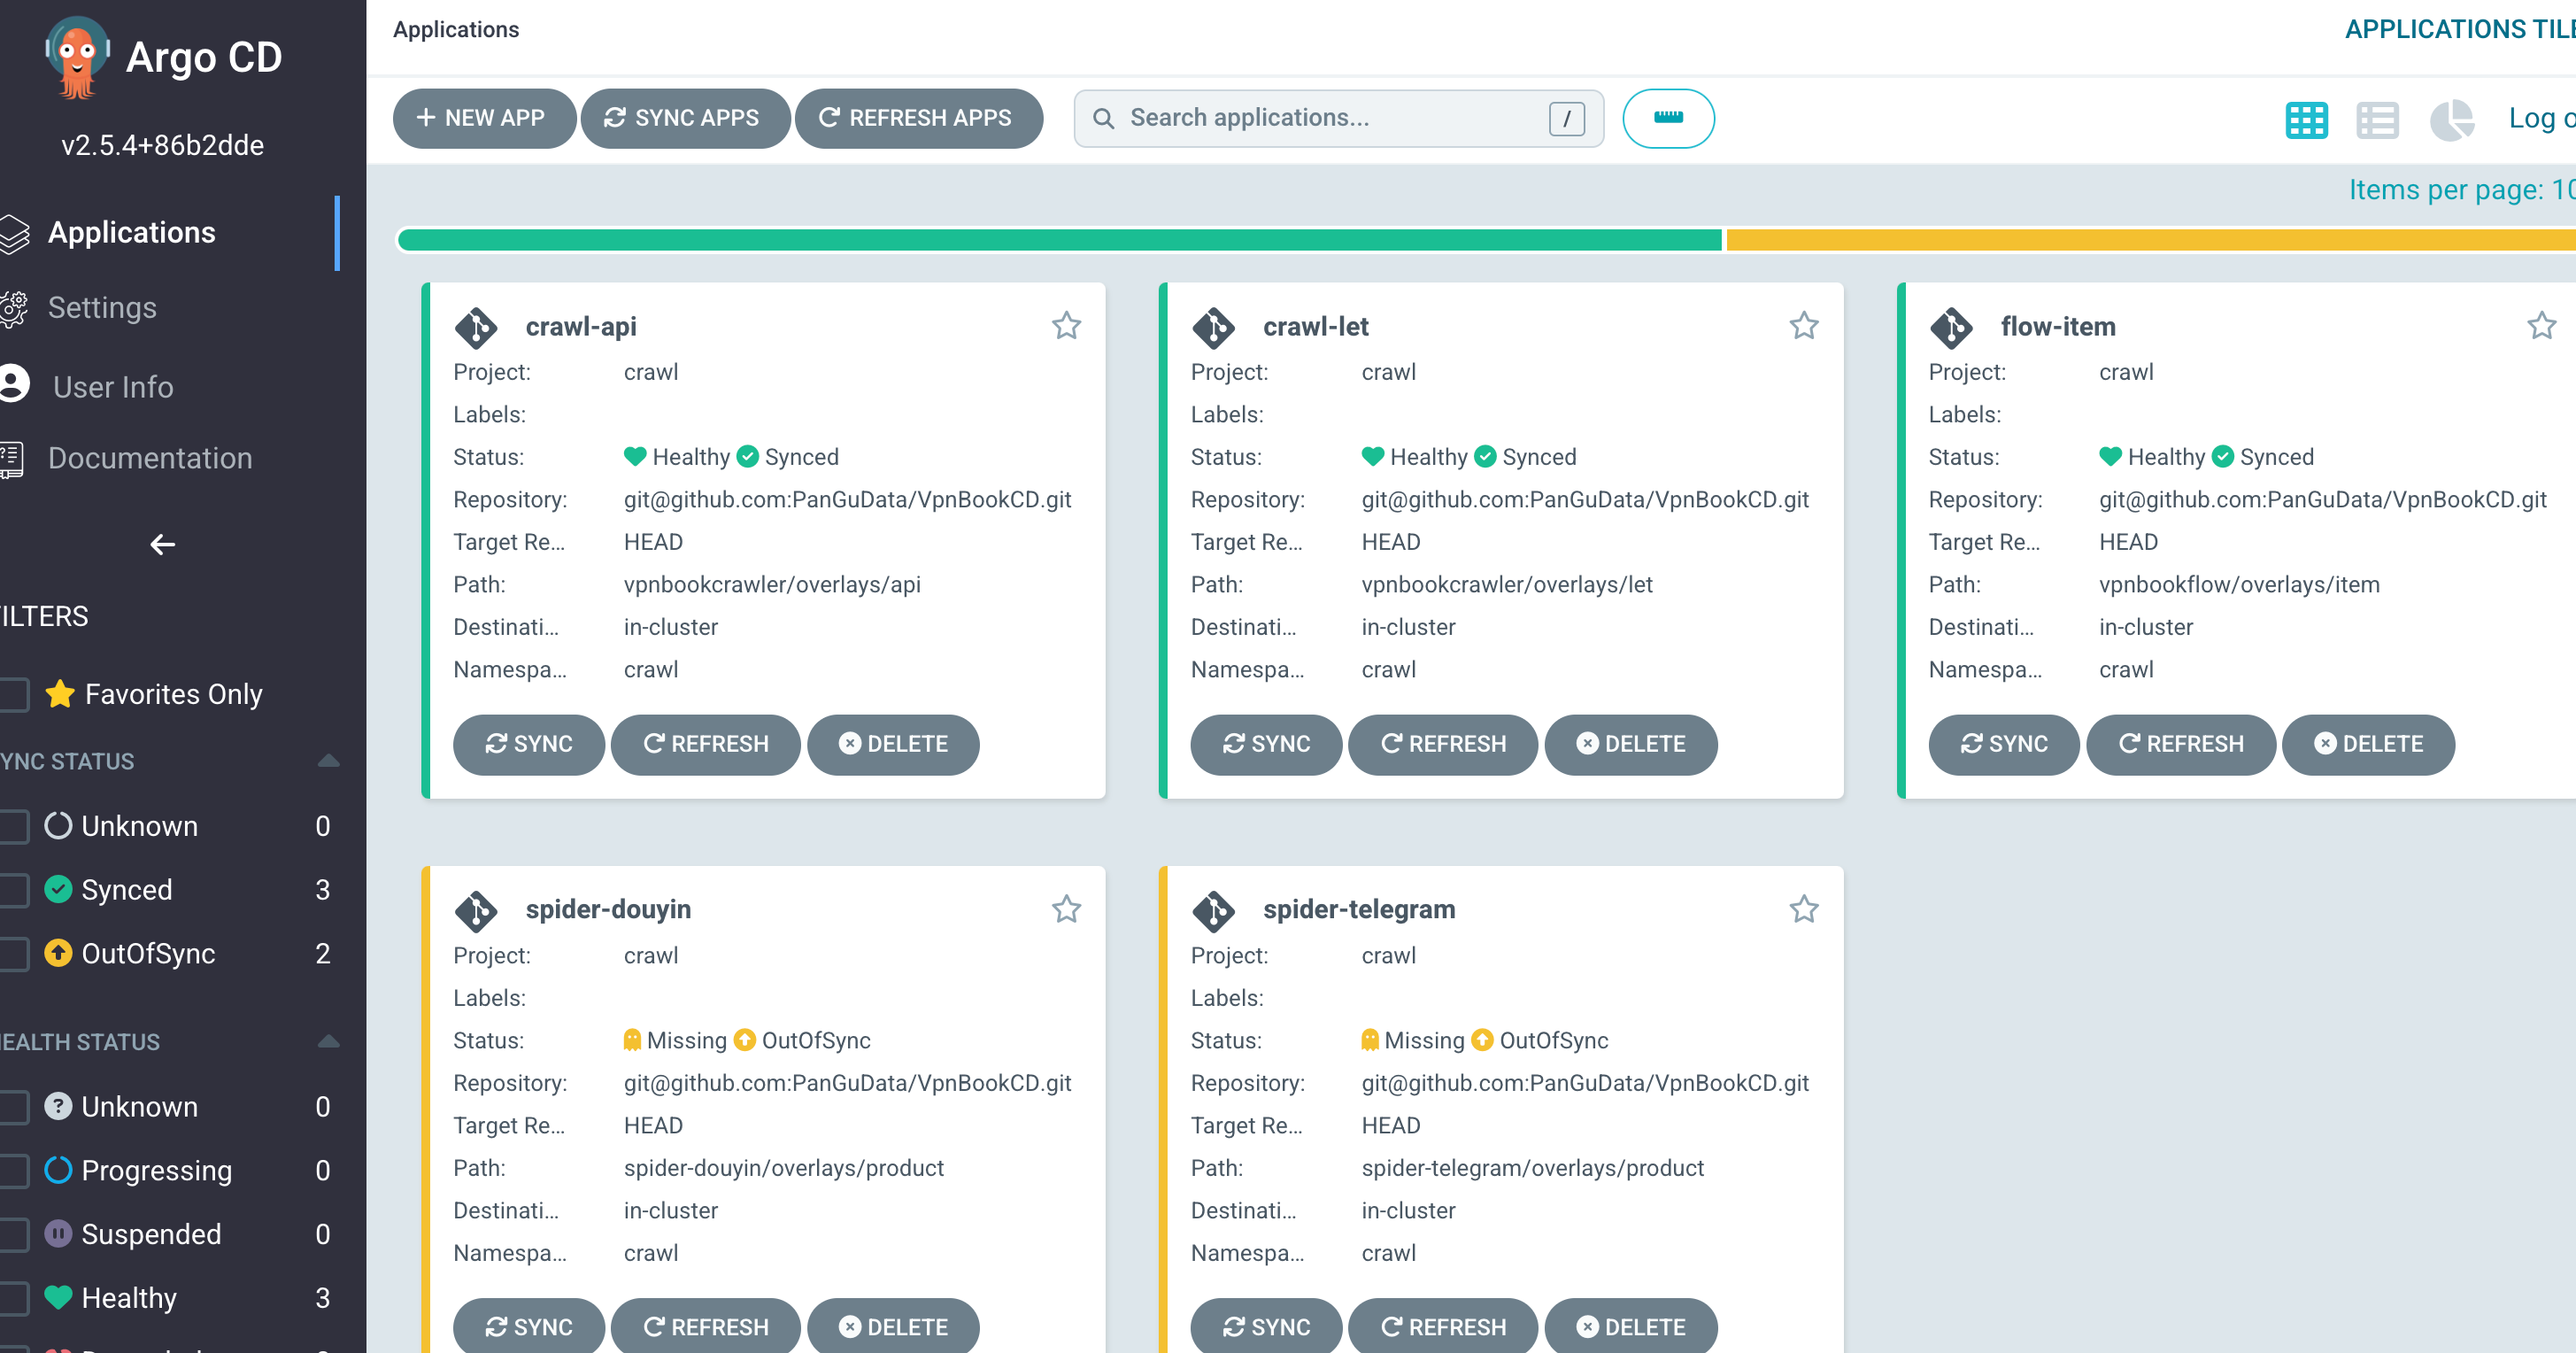
# 界面

上次更新: 2023-07-31 10:01:32